October 10, 2019 • 3 minute read • ![]()
Dagster 0.6.0: Impossible Princess
The team at Elementl is proud to announce version 0.6.0 of Dagster, code-named “Impossible Princess”. This is a big release for Dagster, building on our previous announcement.
Our last release focused on local development and our programming model, leaving hosting, monitoring, and scheduling up to the user. This is no longer the case.
With this release, you can deploy Dagit — our graphical development and monitoring environment — to AWS with a simple, single CLI invocation.
We’ve also built a simple integrated scheduler built, with a Python API and a beautiful graphical interface in Dagit. Now you can deploy pipelines, define schedules to execute those pipelines in code, and watch and monitor those runs in Dagit.
With 0.6.0, Dagster comes “batteries-included” — but still with pluggable options — for everything you need to execute, monitor, schedule, deploy, and debug your data applications:
- Execution: Dagster now ships with its own execution engine, suitable for multi-process execution on a single node, in addition to support for Dask and Airflow.
- Monitoring: You can now monitor production pipelines with hosted Dagit with our modern, reactive UI.
- Scheduling: You can schedule pipelines with Dagster’s integrated scheduler. It is powered by cron, but with a Python API and a web frontend.
- Deployment: You can deploy your Dagit and pipelines with our included
dagster-awscommand line tool if you so choose. But you also have the flexibility to deploy it to arbitrary infrastructure.
Put together, this means you can go from writing a simple pipeline to executing them in production on a schedule in a matter of minutes. And this is 100% open source and installable as a python module.
Show Me The Demo
First install the modules (and use a virtual environment!).
pip install dagit dagster
Next create a file, hello_world.py, that has your Dagster code.
from dagster import solid, pipeline, RepositoryDefinition

@solid
def hello_world_solid(context):
    context.log.info('Hello, World!')

@pipeline
def hello_world_pipeline():
    hello_world_solid() # DSL for building dependency graph

def define_hello_world_repo():
    return RepositoryDefinition(
        name='hello_world_repo',
        pipeline_defs=[hello_world_pipeline]
    )
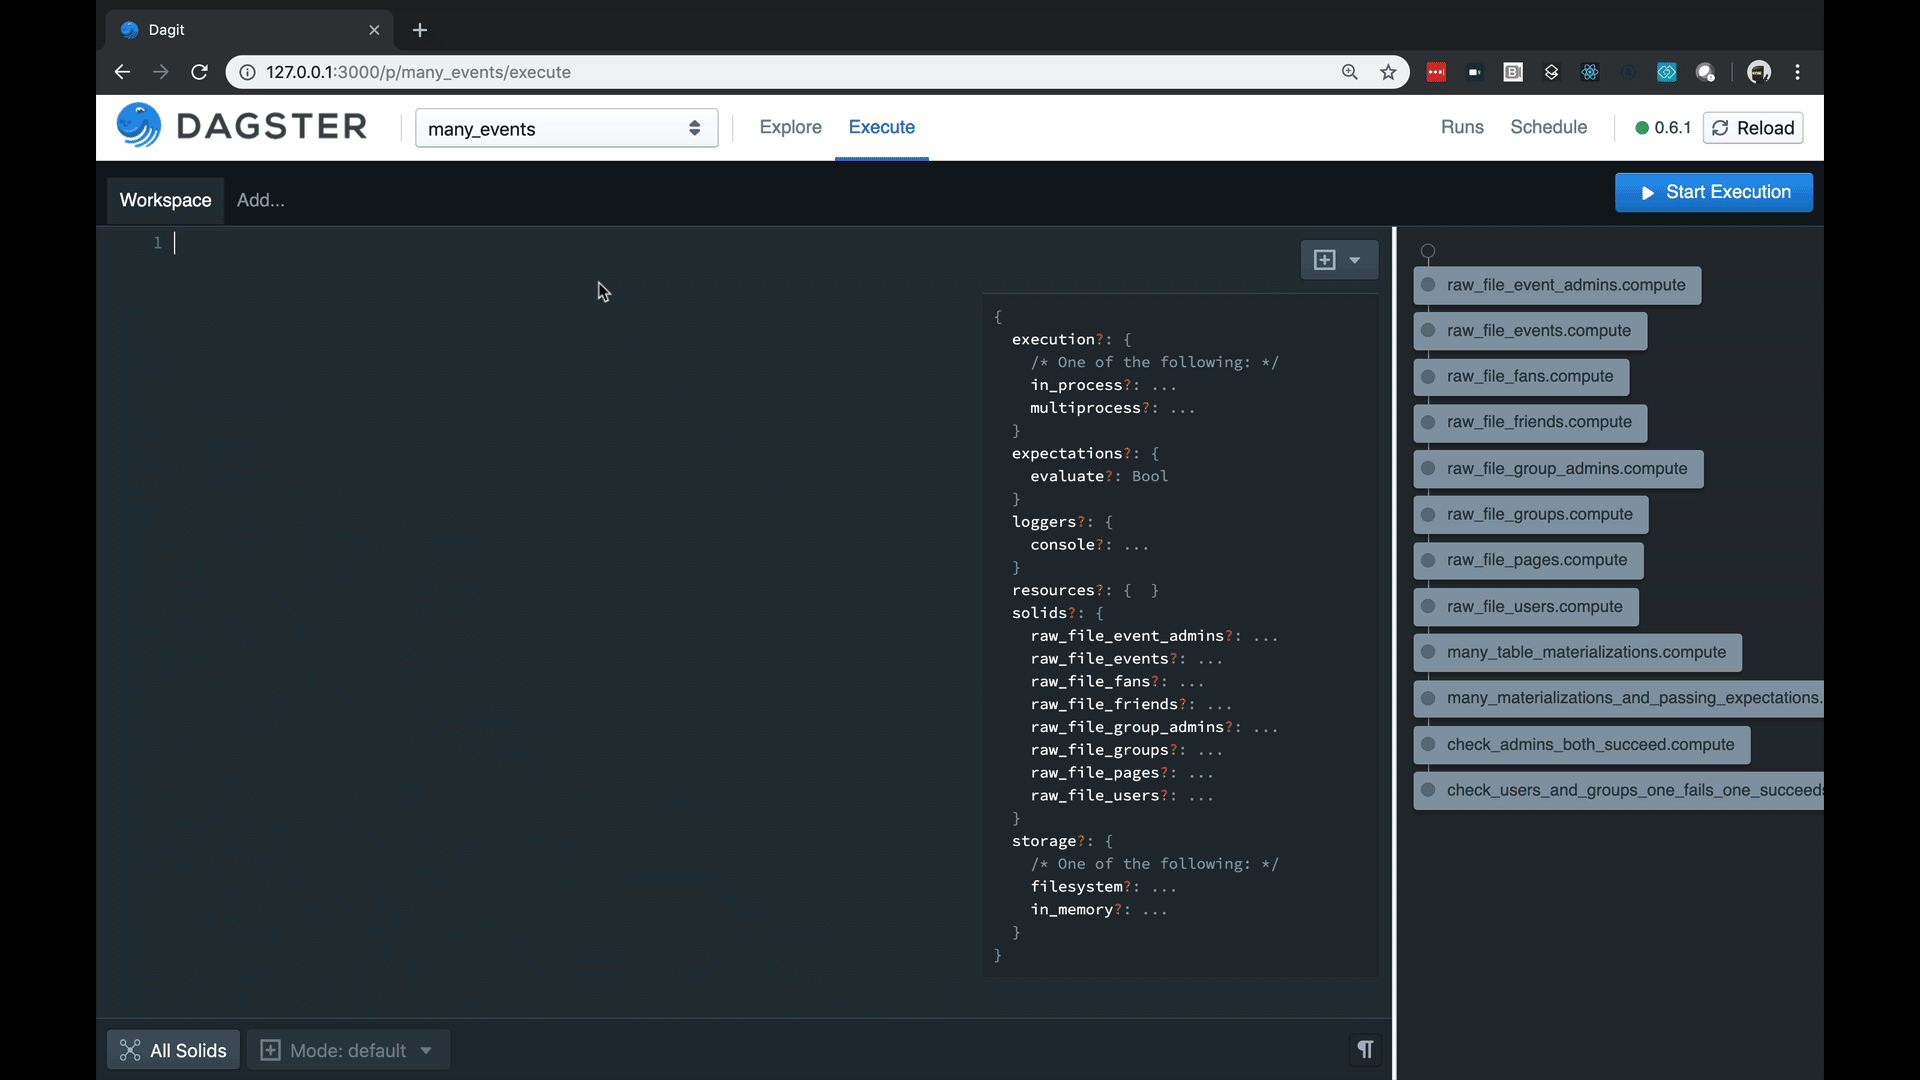
Now launch Dagit locally on your machine:
dagit -f hello_world.py -n define_hello_world_repo
You can then select the pipeline in the dropdown at the top, click on the “Execute” tab, and then click “Start Execution”. You’ll see structured log messages streaming in your web UI.


Add a repository.yaml file so you don’t have to retype those -f and -n arguments over and over again. We’ll also use this file when deploying to AWS.
# in repository.yaml
repository:
  file: hello_world.py
  fn: define_hello_world_repo
Deploying to AWS
Now let’s deploy this to AWS.
First install dagster-aws and then initialize the AWS infrastructure. This will spin up an EC2 node and supporting infrastructure to host Dagit.
pip install dagster-aws
dagster-aws init
As you see, this takes you through a series of prompts that creates an EC2 instance in a region and VPC of your choosing; a security group and key pair; and either a local SQLite instance or an Postgres instance in RDS to store information about runs and events.

Then create a requirements.txt file with your dependencies, including, at a minimum, a dependency on dagster and dagit.
Now we need to deploy the code to the server:
dagster-aws up
This uploads code, installs requirements.txt on that node, and then launches Dagit as a daemon.
A url appears in the terminal. Open that, and you have Dagit running on an EC2 instance. See our docs for more details on custom deployments on other infrastructure.
Scheduling
Now let’s schedule this pipeline for regular execution. To do this we will need the dagster-cron module, so run pip install dagster-cron in your environment.
Schedules are defined using a python API. In this we schedule our pipeline to run every minute:
from dagster import ScheduleDefinition, schedules
from dagster_cron import SystemCronScheduler

@schedules(scheduler=SystemCronScheduler)
def define_hello_world_schedules():
    return [
        ScheduleDefinition(
            name='hello_world_every_min',
            cron_schedule='* * * * *',
            pipeline_name='hello_world_pipeline'
        )
    ]
And add an entry in repository.yaml for this function:
# in repository.yaml
scheduler:
  file: hello_world_sched.py
  fn: define_hello_world_schedules
Then run Dagit. You now have a schedule.
Simply run dagster-aws up and you have deployed that schedule to your cloud instance. You are now ready to run in production.
Just Getting Started
This post is just focused on our new operational features running a trivial pipeline. There is a rich programming model with tons of features that are beyond the scope of this article.
- Functional data engineering, combining data dependencies and a gradual, flexible type system.
Dependencies between optionally typed inputs and output, specified by an elegant DSL.
- A strongly-typed config system with user-defined schema, enabling a built-in autocompleting editor with high-quality error messages.
Managing config can be a beast with complex pipelines. Our tools are fun and catch errors prior to execution.

- Dagster includes a structured logging that allows users to communicate events with specific meaning (e.g. Materializations or Expectations) along with structured metadata that can be consumed by tools as you see below. This goes beyond normal, free-text logging (“Developers thinking aloud”) in terms of interpretability by both humans and tooling
Structured logging with fast search and rich metadata rendering.
Testability as a first class concept. Because our pipelines are parameterize-able and because of our environment is so pluggable, you can run pipelines and subsets of pipelines without externalized dependencies and on test data sets.
Much, much more. See our documentation.
This is an exciting release, which transforms Dagster from a local development tool and programming tool, to a system ready to execution, schedule, and monitor production pipeline out-of-box.
Check out our Github and join our slack to learn more!


We're always happy to hear your feedback, so please reach out to us! If you have any questions, ask them in the Dagster community Slack (join here!) or start a Github discussion. If you run into any bugs, let us know with a Github issue. And if you're interested in working with us, check out our open roles!
Follow us:

Dagster 1.7: Love Plus One


- Name
- Fraser Marlow
- Handle
- @frasermarlow
Dagster 1.6: Back to Black

- Name
- Sandy Ryza
- Handle
- @s_ryz
Dagster 1.5: How Will I Know?

- Name
- Yuhan Luo
- Handle
- @yuhan